Is sketching essential for UX and UI designers? If you consider sketching as a means of exploring problems and rapidly documenting potential solutions — yes, it genuinely is.
One of the most difficult moments in any design process is capturing the initial idea before it evaporates. We’ve all spent time working through a creative solution in our heads, only to sit down at the computer and find the clarity has gone. Sketching solves this problem elegantly, and it costs almost nothing.
In this guide, you’ll learn how to improve your UX designs using sketching as a tool. We’ll cover why sketching benefits the design process, what tools you need (fewer than you’d think), what an effective sketching process looks like, and how digital sketching tools fit into the picture in 2026.
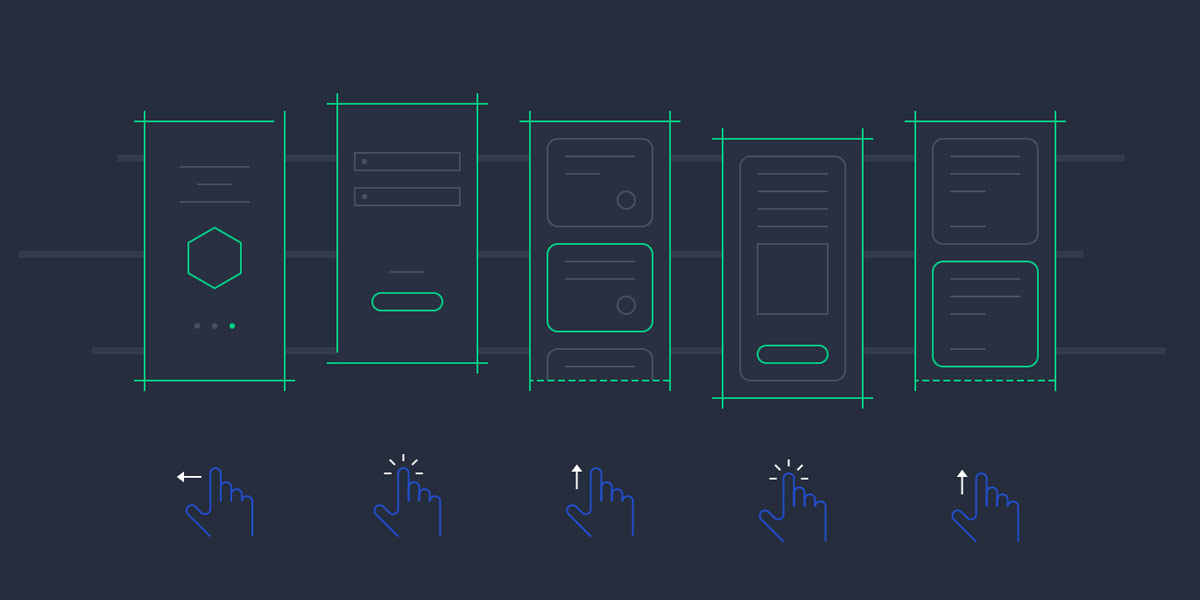
Sketching is one of the most underused tools in a designer’s process
Why Sketching Matters for UX Designers
When a new project lands, the temptation is to open Figma and start building wireframes immediately. The problem with jumping straight to high-fidelity tools is that you commit to details before you’ve validated the concept. You can spend hours refining a layout, only to realise the fundamental structure doesn’t work — and now you have a well-executed solution to the wrong problem.
Sketching short-circuits this trap. Unlike a wireframe, which is a communication artefact designed to convey an idea to others, a sketch is a thinking tool designed for you. It’s a fast, low-stakes way of externalising what’s in your head so you can evaluate it, discard it, or build on it — without the overhead of a digital tool nudging you toward precision you don’t yet need.
One principle worth internalising early: sketches aren’t for clients, stakeholders, or your Dribbble portfolio. They’re for you. The moment you start thinking about how a sketch looks to someone else, you’ve undermined its purpose.
The practical benefits are well established among experienced designers:
- You can generate and discard ten ideas in the time it takes to build one wireframe
- The low-resolution nature of sketching forces you to think about structure and flow rather than visual detail
- Mistakes are free — there’s no sunk cost in crossing out a sketch and trying again
- Sketching surfaces problems earlier, when they’re cheapest to fix
What Tools Do You Need for Sketching?
The honest answer is: very little. Designers tend to accumulate tools, but effective sketching requires only a few basics — and you probably already own them.
Paper — A standard notebook is fine. Cheap paper is actually preferable; expensive sketchbooks create subtle psychological pressure to produce something worth keeping, which is the opposite of what you want. Grid or dot-grid paper can be helpful for maintaining proportions, but plain paper works just as well.
A pencil or pen — Use whatever you find comfortable. A biro, a 0.5mm mechanical pencil, a cheap ballpoint — any of these work. Don’t bother with an eraser; crossing things out and moving on is faster and more honest about your thought process. If you’re using a pencil, keep it sharp — sketching with a blunt pencil creates visual noise that makes it harder to read your own ideas back.
A thick marker — A Sharpie or similar broad-tip marker is useful for emphasising key elements or annotating important areas once a sketch is taking shape. A finer pen for small details completes the toolkit.
A timer — This is more important than it sounds. Without a time limit, sketching sessions drift into the detailed refinement you’re trying to avoid. Set a timer for 5 minutes per sketch; when it goes off, move to the next idea.
Digital Sketching Tools in 2026
The traditional pen-and-paper approach remains excellent, but digital sketching has matured significantly and is now a genuinely viable alternative — particularly for designers who work remotely or want to keep everything in one ecosystem.
iPad with Apple Pencil and apps like Procreate or Apple Freeform offer a natural drawing experience close to paper, with the added benefit of infinite undo, easy sharing, and the ability to layer digital structure over hand-drawn ideas. Concepts is particularly well-suited to UX sketching, with infinite canvas and vector output.
Figma’s FigJam and Miro both offer digital whiteboard environments with drawing tools that work well for collaborative sketching sessions — useful when teams are distributed and need to sketch together in real time.
The choice between paper and digital ultimately comes down to personal preference and workflow. Many designers sketch on paper for the initial ideation phase, then photograph and import their sketches into Figma to annotate or build on. Neither approach is categorically better — what matters is that sketching happens before committing to high-fidelity work.
A Step-by-Step Sketching Process
Once you’ve been sketching for a while, you’ll develop your own rhythm. For anyone new to it, here’s a process that works well.
1. Define the Problem Before You Start
Sketching without a clear problem to solve tends to produce drawings rather than design thinking. Before picking up a pen, identify the specific interaction or screen you’re going to explore. What does the user need to accomplish here? What are the constraints? What makes this genuinely difficult to design?
Spending five minutes on this framing before you start sketching is time well spent. The clearer your problem statement, the more directed your sketching will be.
2. Start Sketching — Quantity First
Divide a sheet of paper into six sections. Set a timer for 5 minutes and sketch six different approaches to the primary interaction. Each section gets one idea — don’t refine, don’t restart, just keep the pen moving.
If you find yourself freezing at a blank page, use the same approach you’d use for any creative block: make a mark. Then another. Then try to make the third mark say something meaningful about the project — through size, position, or relationship to the others. The first few marks are always the hardest; after that, the process tends to carry itself.
Don’t exceed the time limit. The point of the constraint is to prevent you from polishing, which is what your brain will try to do the moment you feel some traction on an idea. The time is better spent generating six rough ideas than perfecting one.
3. Review and Select
Once you have a set of sketches, review them with some distance — even stepping away for a few minutes helps. Look for which ideas have the strongest structure, which solve the core problem most directly, and which combinations might produce something better than any single sketch on its own.
You don’t need to pick a winner immediately. Redrawing two or three ideas together — combining elements from different sketches — is often where the most useful insights emerge. This is the moment to start adding a little more detail and thinking about how the interaction would actually flow.
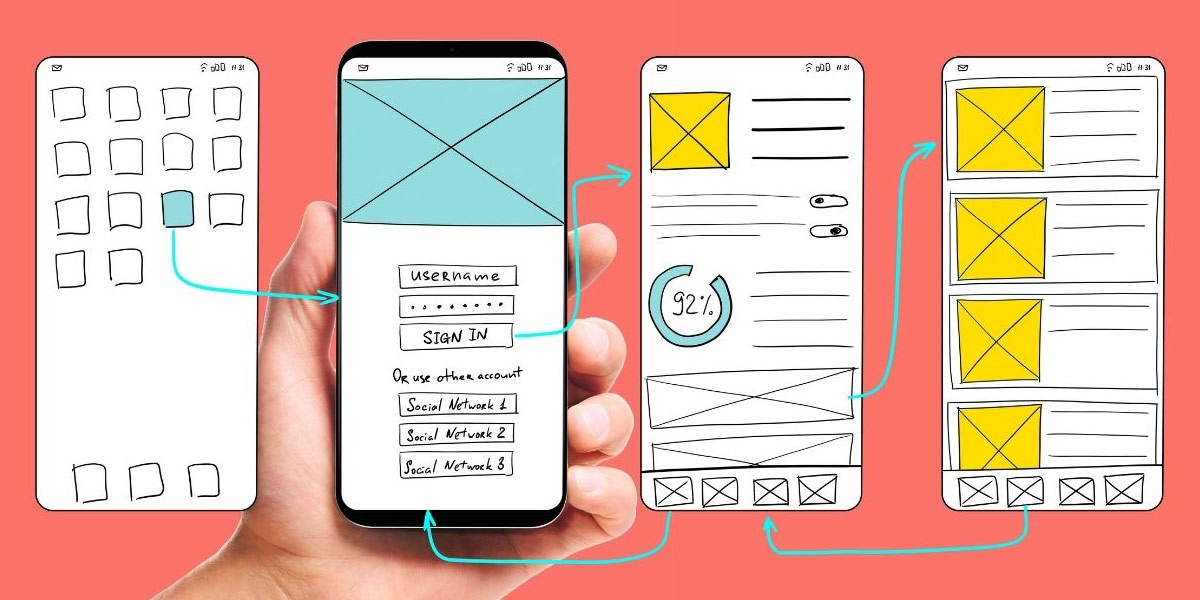
The sketching process: generate quickly, then refine selectively
Moving from Sketch to Wireframe
Sketches are a starting point, not a deliverable. Once you have a direction you’re confident in, the sketch serves as a map for your wireframing work — you already know the structure and key interactions, so you can move through the wireframe stage considerably faster.
This is where the time investment in sketching pays back. Designers who sketch first tend to spend less time revising wireframes, because the fundamental concept has already been tested and refined before any digital tool was opened. The sketch absorbs the uncertainty; the wireframe executes the solution.
Once you’re comfortable with the sketching habit, you’ll find it naturally extends to identifying usability issues earlier in a project — layout problems, unclear hierarchies, missing states — that would otherwise surface mid-wireframe or even mid-build. For more on building this kind of thinking into your process, take a look at our guide to usability testing and the essential tools for web designers.
FAQs
Do I need to be good at drawing to sketch for UX?
No. UX sketching is not about artistic quality — it’s about capturing structure, flow, and relationships between elements. Boxes, arrows, and rough outlines are entirely sufficient. If your sketches make sense to you, they’re doing their job.
Should I always sketch before wireframing?
For most projects, sketching before wireframing produces better outcomes — you iterate faster, commit to a direction with more confidence, and spend less time revising digital work. That said, for very simple UI changes or work where the structure is already well-defined, jumping straight to a wireframe is reasonable.
Can digital tools replace pen-and-paper sketching?
They can — digital tools like an iPad with Apple Pencil, Procreate, or Concepts offer a natural drawing experience with practical advantages like easy sharing and infinite undo. FigJam and Miro work well for remote collaborative sketching. The best approach is the one that removes friction and keeps the focus on thinking rather than tool management.
Is sketching only useful for UX and UI designers?
No — sketching as a thinking tool is valuable across any creative discipline that involves visual problem-solving. Graphic designers, architects, product designers, and developers working through technical architecture all benefit from the same core principle: externalising ideas quickly before committing to detail.
Can sketches be used in user testing?
Yes. Early-stage sketches can be used for user testing to gather feedback on concepts before any digital work has been done. Users can engage with even rough sketches and give valuable feedback about whether a proposed structure or flow makes sense — often surfacing misunderstandings about how an interaction should work at a stage when they’re still cheap to address.
How do I integrate sketching into a team design process?
Design sprints and collaborative sketching sessions work well — set a shared brief, give everyone five minutes to sketch independently, then present and discuss. This surfaces a wider range of ideas than any one person would generate alone and creates shared ownership of the direction before any detailed work begins. Digital tools like FigJam make this process practical for distributed teams.

With over two decades of web design and development expertise, I craft bespoke WordPress solutions at FallingBrick, delivering visually striking, high-performing websites optimised for user experience and SEO.