Wordpress 404 Page Redirect
404 errors can hurt your website’s user experience and search engine rankings. This can lead to less traffic and lower positions in search results. In this guide, we’ll look at why and how to redirect 404 errors in WordPress effectively. We’ll cover plugins, manual methods, and best practices to keep your site running smoothly.

Wordpress 404 Page Redirect
What Are 404 Errors?
A 404 error happens when someone tries to visit a page on your website that doesn’t exist. Common reasons for 404 errors include:
- Deleted Pages: Pages that were removed without being properly redirected.
- Wrong Web Addresses: Mistakes in typing website addresses.
- Broken Links: Links that point to pages that no longer exist or have moved.
Why Should You Redirect 404 Errors?
Redirecting 404 errors is important for several reasons:
- Better User Experience: Sending users from a broken link to a useful page helps keep them on your site.
- Search Engine Benefits: Search engines don’t like websites with lots of 404 errors. Redirecting these errors keeps your site’s search engine value.
- Fewer People Leaving Your Site: A high number of 404 errors can make more people leave your site quickly. Redirects help keep users interested.
How to Redirect 404 Errors
There are several ways to redirect 404 errors in WordPress. Let’s look at the most effective methods:
- Using Plugins
- Manual Redirection with .htaccess
- Custom 404 Page with Redirects
1. Using Plugins
Plugins offer an easy and effective way to manage 404 errors and redirects. Here are some good options:

Wordpress 404 Page Redirect: Redirection
Redirection Plugin:
- How to Install:
- Go to your WordPress dashboard
- Click on ‘Plugins’, then ‘Add New’
- Search for “Redirection”
- Click ‘Install Now’ and then ‘Activate’
- How to Set Up:
- After activating, go to ‘Tools’, then ‘Redirection’
- Follow the setup guide to set up the plugin
- Managing 404 Errors: The plugin automatically tracks 404 errors. You can set up redirects for these errors in the plugin’s settings.

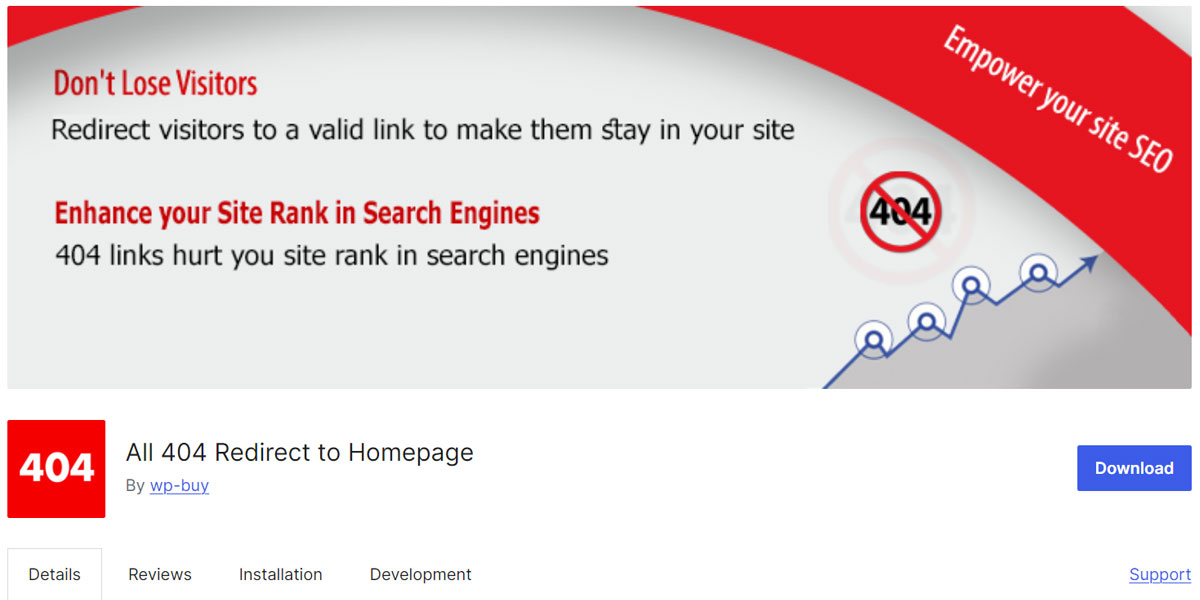
Wordpress 404 Page Redirect: All Redirect to Homepage
All 404 Redirect to Homepage Plugin:
- How to Install:
- In your WordPress dashboard, go to ‘Plugins’, then ‘Add New’
- Search for “All 404 Redirect to Homepage”
- Click ‘Install Now’ and then ‘Activate’
- How to Set Up:
- After activating, go to ‘Settings’, then ‘All 404 Redirect to Homepage’
- Turn on the plugin and set the web address to your homepage or another page you choose
2. Manual Redirection with .htaccess
If you’re comfortable editing important files, .htaccess is a powerful way to manage redirects.
- Finding .htaccess: Use an FTP program or the file manager in your hosting control panel to find the .htaccess file in your website’s main folder.
- Adding Redirect Rules: Add this code to redirect all 404 errors to the homepage:
ErrorDocument 404 /index.phpThis tells the server to send any 404 error to your homepage.
3. Custom 404 Page with Redirects
Creating a custom 404 page can improve user experience by providing helpful information and links.
- Making the Page:
- In your WordPress dashboard, go to ‘Pages’, then ‘Add New’
- Create a page called “404” or something similar
- Adding Special Code: Use this PHP code in your theme’s 404.php file to automatically send users to the homepage:
<?php header("HTTP/1.1 301 Moved Permanently"); header("Location: " . home_url()); exit(); ?> - Adding Useful Content: Instead of automatic redirection, you could add helpful content and links on your custom 404 page. This can guide users back to your homepage or other important parts of your site.
Best Ways to Handle Redirects
- Avoid Redirect Loops: Make sure your redirects don’t create loops where a web address keeps redirecting to itself or another address that eventually leads back to the first one.
- Use 301 Redirects: For permanent redirects, use 301 status codes. This tells search engines that the page has moved permanently.
- Keep an Eye on 404 Errors: Regularly check for 404 errors using tools like Google Search Console and your redirection plugin’s records.
- Test Your Redirects: After setting up redirects, test them to make sure they work correctly. Use your web browser’s developer tools or online redirect checkers.
Wrapping Up
Managing 404 errors by redirecting them properly is crucial for keeping your WordPress website healthy. Whether you choose to use plugins, edit .htaccess manually, or create custom 404 pages, the goal is to improve user experience and maintain your search engine value. By following this guide, you can make sure your site handles 404 errors effectively, keeping your visitors engaged and your search engine rankings strong.
Remember, regularly checking for and fixing 404 errors is an ongoing task. It’s not just about setting up redirects once and forgetting about them. Keep monitoring your site’s performance, checking for new 404 errors, and updating your redirects as needed. This ongoing maintenance will help ensure your WordPress site remains user-friendly and performs well in search engine results over time.
Additionally, consider creating a site map to help users navigate your website more easily. This can be particularly helpful if you’ve had to redirect many pages. A site map can guide users to the content they’re looking for, even if the original page they were trying to reach no longer exists.
Lastly, don’t forget to update any internal links on your site that might be pointing to old or non-existent pages. This internal housekeeping can significantly reduce the number of 404 errors your visitors encounter, improving their overall experience on your site.
By implementing these strategies and staying proactive about managing your website’s structure and content, you’ll create a better experience for your users and maintain a strong, healthy presence online.

With over two decades of web design and development expertise, I craft bespoke WordPress solutions at FallingBrick, delivering visually striking, high-performing websites optimised for user experience and SEO.


